> ## Documentation Index
> Fetch the complete documentation index at: https://help.captureiq.ai/llms.txt
> Use this file to discover all available pages before exploring further.
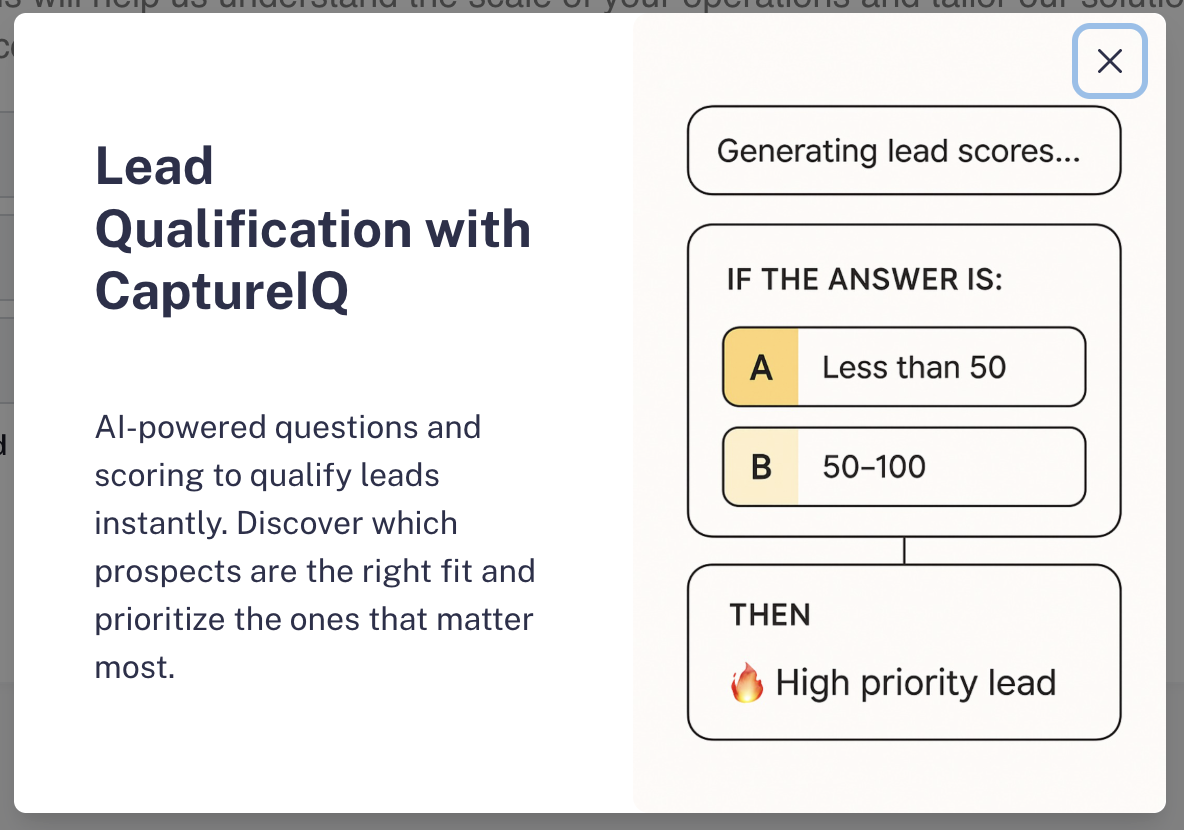
# Capture & Qualify Leads with Leads Intelligence Mode in CaptureIQ
## Why Lead Qualification Matters
For any business, capturing leads is only half the battle — **qualifying them is what drives sales and growth**. Without proper qualification, your sales team wastes time on poor leads instead of focusing on high-potential ones.
 This is where **CaptureIQ’s Leads Intelligence Mode** comes in. With the power of AI, you can:
* Instantly create a **lead capture form** tailored to your business.
* Get **optimized qualification questions** without starting from scratch.
* Automatically **score leads** so you know which ones are high-priority.
This saves you time and ensures your team works on the **most valuable leads first**.
## How to Create a Lead Qualification Form
### Step 1: Start Creating the Form
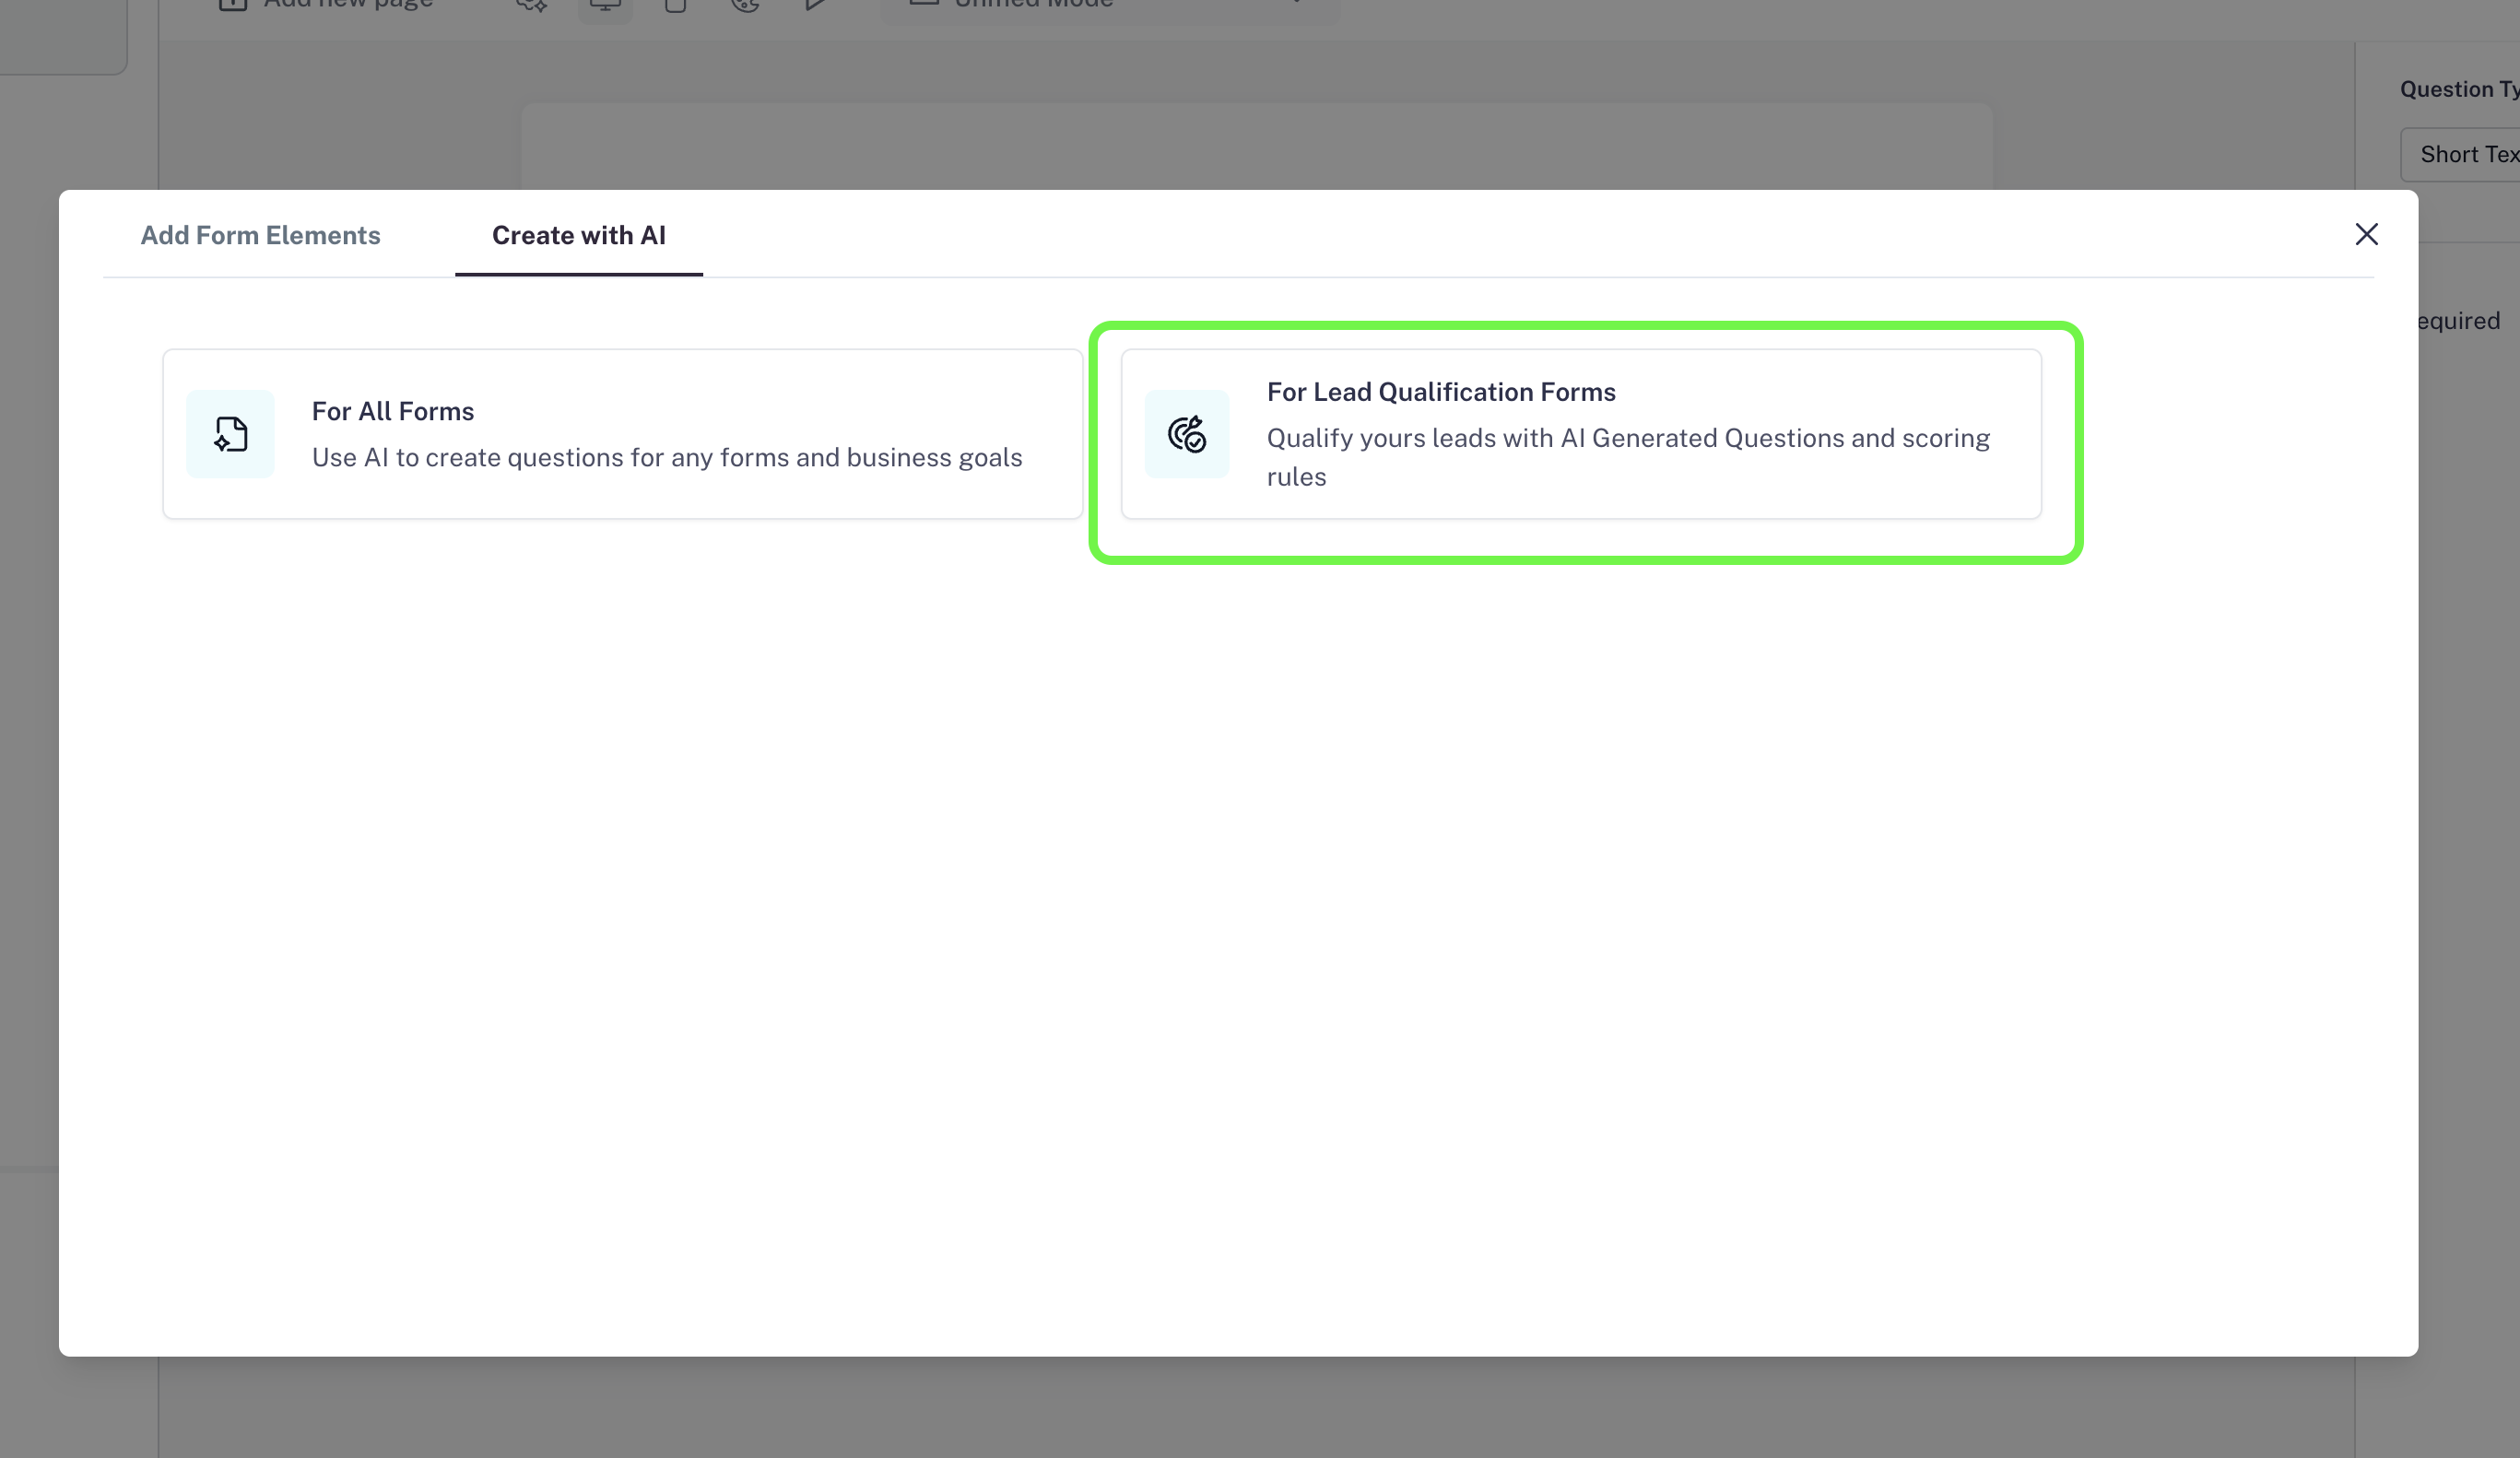
1. From your **CaptureIQ Dashboard**, click **+ Create Form**.
2. Select **Create Form with AI**.
3. From the available options, choose **For Leads Qualification Forms**.
This is where **CaptureIQ’s Leads Intelligence Mode** comes in. With the power of AI, you can:
* Instantly create a **lead capture form** tailored to your business.
* Get **optimized qualification questions** without starting from scratch.
* Automatically **score leads** so you know which ones are high-priority.
This saves you time and ensures your team works on the **most valuable leads first**.
## How to Create a Lead Qualification Form
### Step 1: Start Creating the Form
1. From your **CaptureIQ Dashboard**, click **+ Create Form**.
2. Select **Create Form with AI**.
3. From the available options, choose **For Leads Qualification Forms**.


 ### Step 2: Provide Business Details
A window will pop up asking for details about your business.
* Enter your **Business Name**.
* You now have two options:
1. Enter your **Business URL** (**Highly Recommended**).
2. Or, describe your business in detail in the field provided.
### Step 2: Provide Business Details
A window will pop up asking for details about your business.
* Enter your **Business Name**.
* You now have two options:
1. Enter your **Business URL** (**Highly Recommended**).
2. Or, describe your business in detail in the field provided.
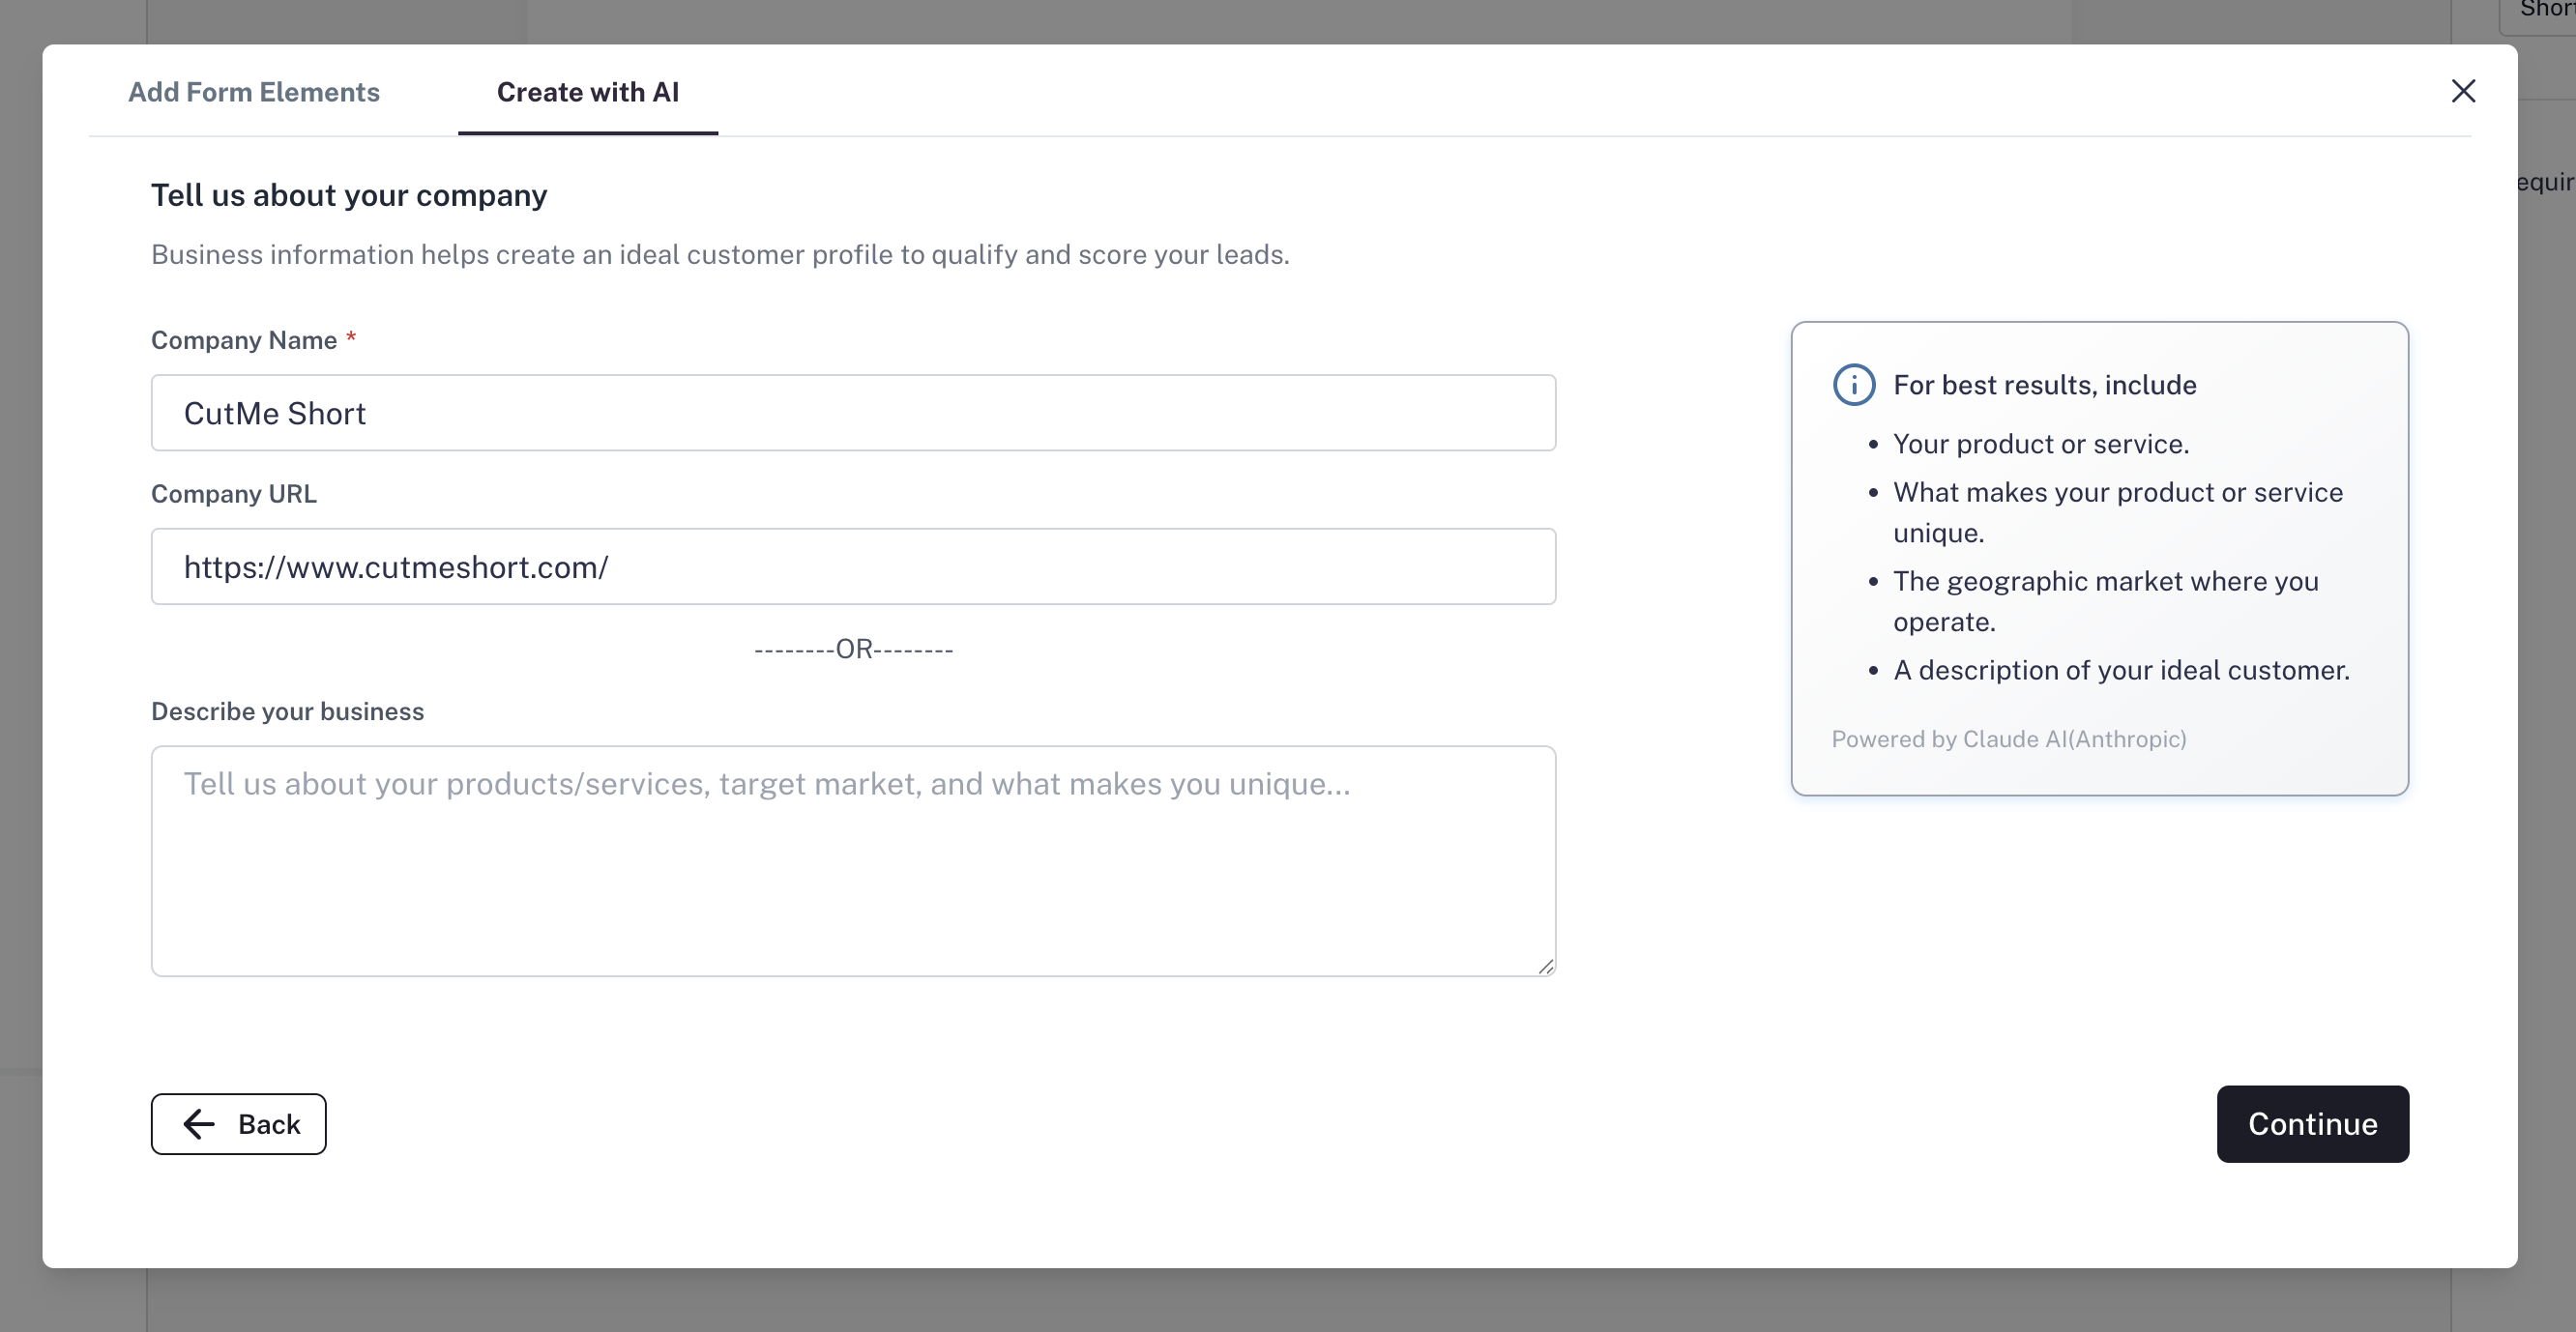 If you provide your **URL**, the AI will scan your website and understand:
* What your business does
* Your ideal customer profile (ICP)
* Key demographics
* Important features & offerings
Once entered, click **Continue**.
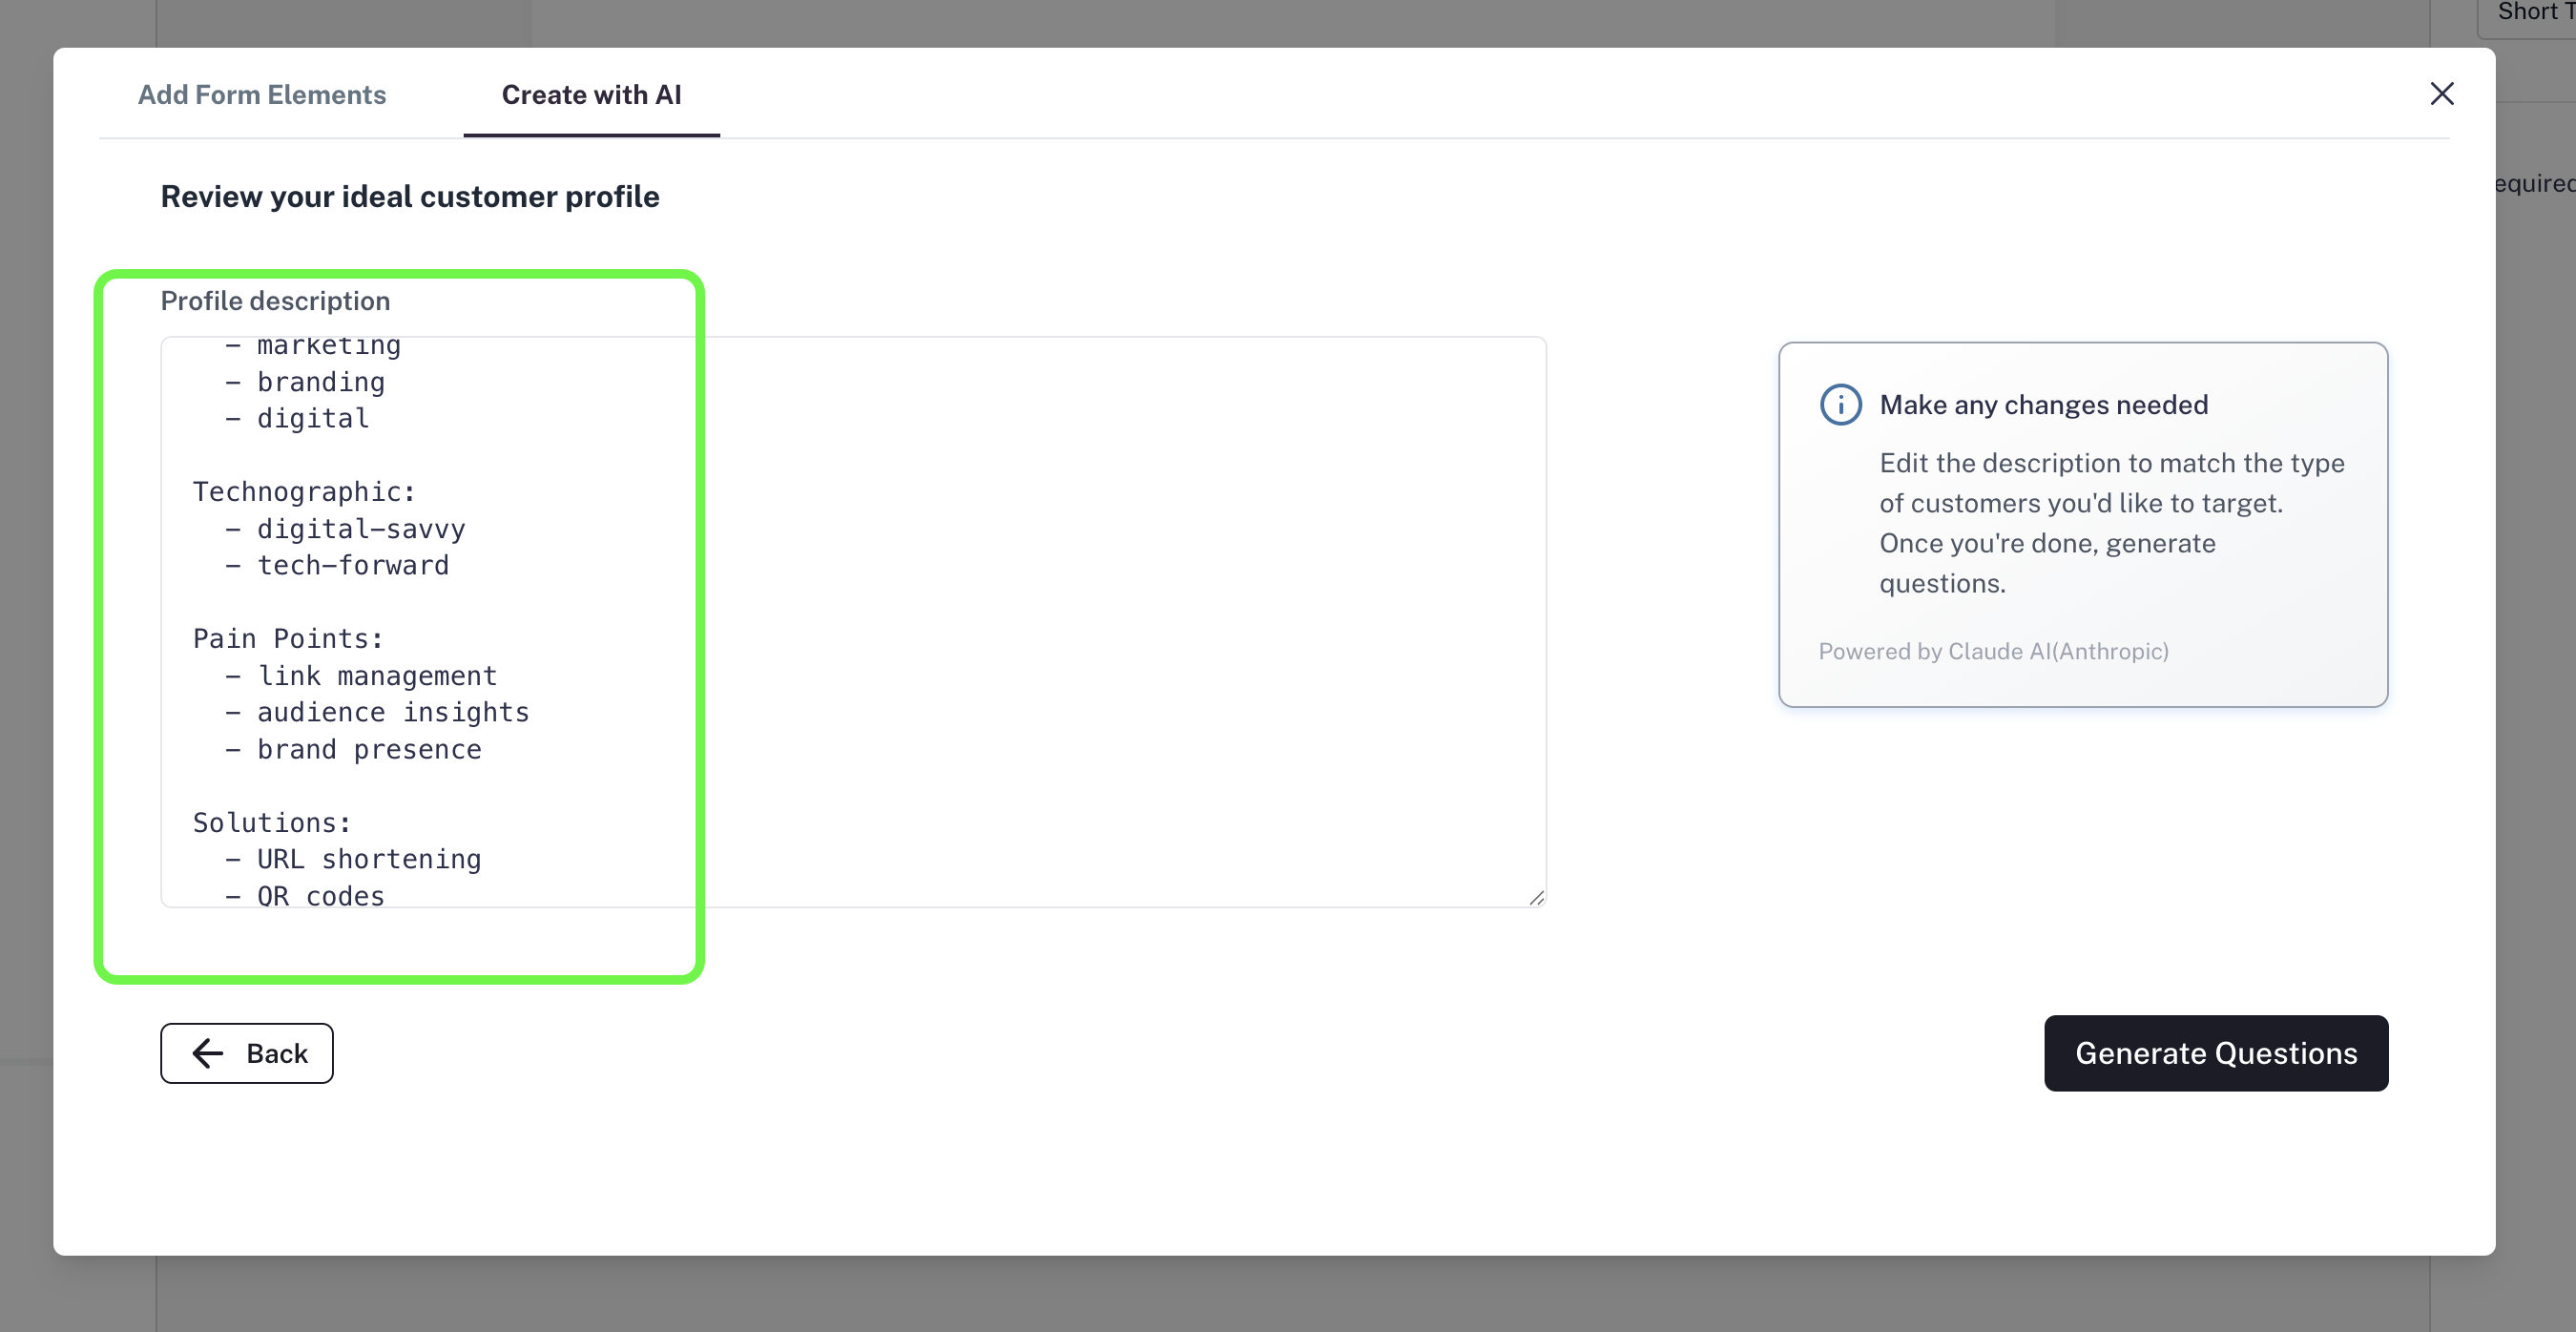
### Step 3: AI Analyzes & Defines Your ICP
This is the **first phase of AI magic**.
* AI processes your business details and generates **Ideal Customer Profile (ICP) information**.
* The information is neatly categorized into **segments**.
* Review these details. You can edit, add, or remove anything to better match your business.
Once satisfied, click **Generate Questions**.
If you provide your **URL**, the AI will scan your website and understand:
* What your business does
* Your ideal customer profile (ICP)
* Key demographics
* Important features & offerings
Once entered, click **Continue**.
### Step 3: AI Analyzes & Defines Your ICP
This is the **first phase of AI magic**.
* AI processes your business details and generates **Ideal Customer Profile (ICP) information**.
* The information is neatly categorized into **segments**.
* Review these details. You can edit, add, or remove anything to better match your business.
Once satisfied, click **Generate Questions**.
 ### Step 4: AI Generates Lead Qualification Questions
This is the **second phase of AI magic**.
* Based on your ICP data, AI creates **optimized qualification questions** tailored to your business.
* These questions are well-researched, clear, and designed to qualify leads effectively.
After a few seconds, you’ll land on the **Form Editor Page**.
Here, all the questions will already be ready for you. Review them and make small edits if needed.
### Step 4: AI Generates Lead Qualification Questions
This is the **second phase of AI magic**.
* Based on your ICP data, AI creates **optimized qualification questions** tailored to your business.
* These questions are well-researched, clear, and designed to qualify leads effectively.
After a few seconds, you’ll land on the **Form Editor Page**.
Here, all the questions will already be ready for you. Review them and make small edits if needed.
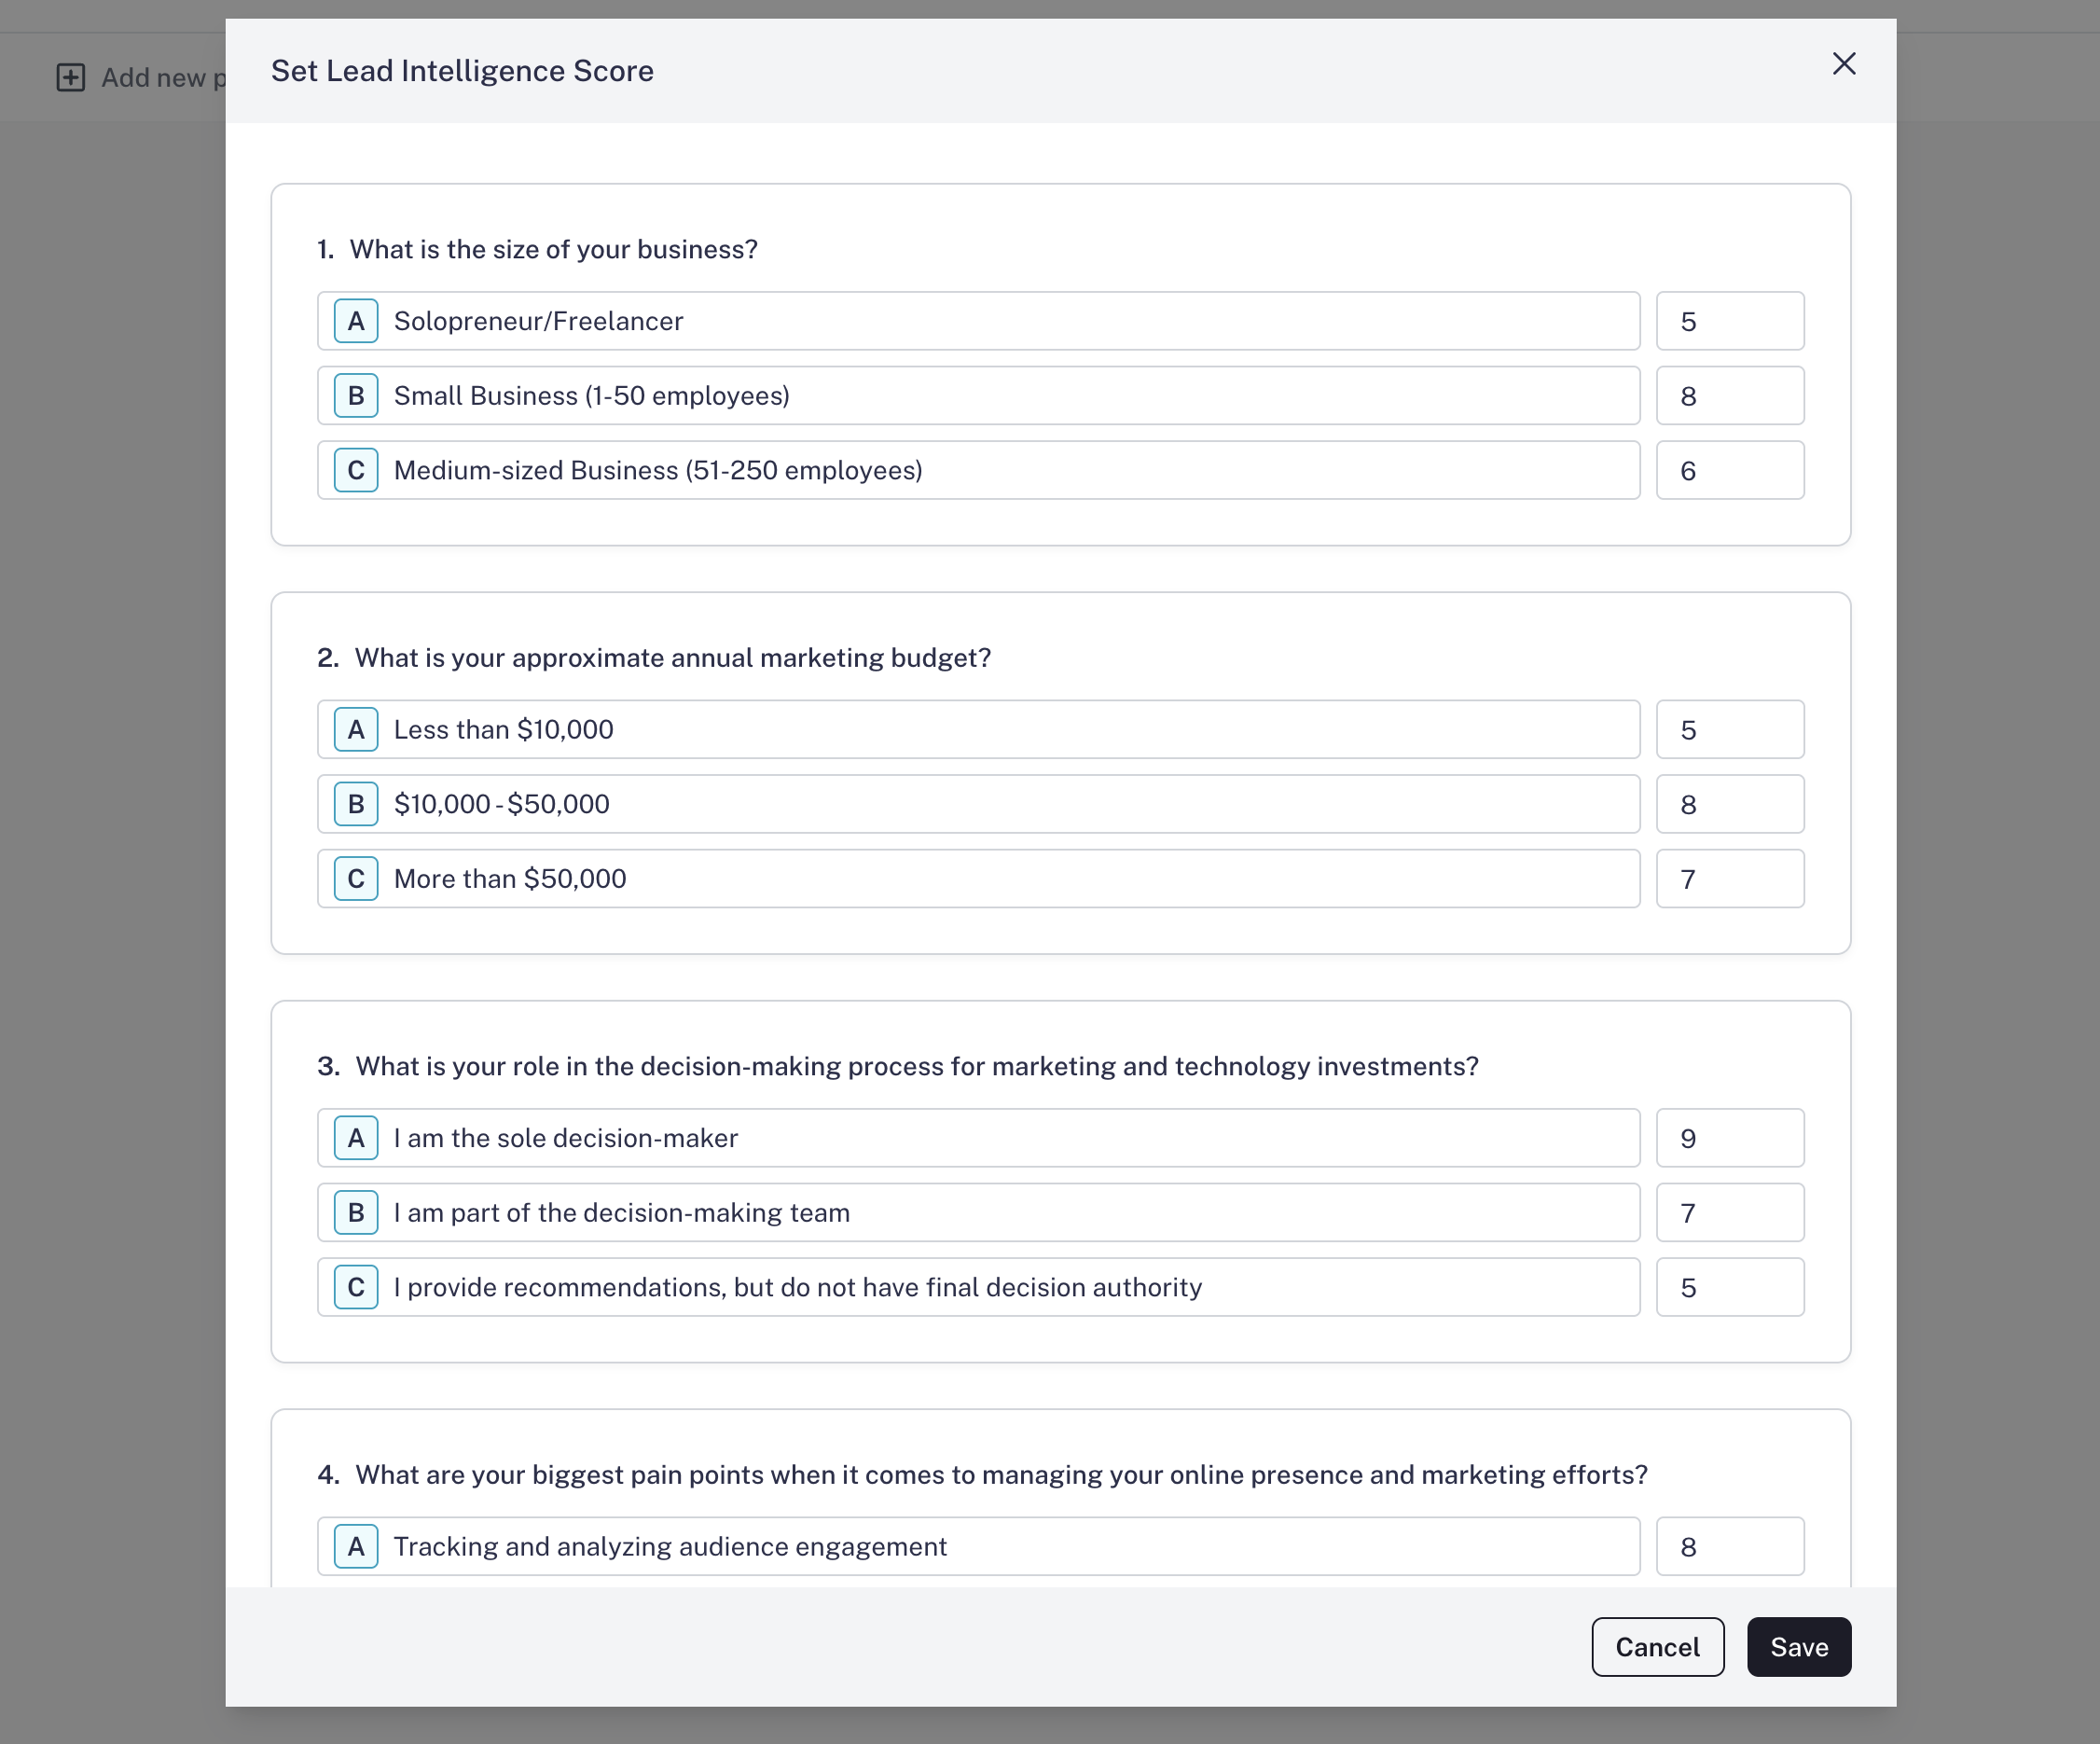
 ### Step 5: Set Scores for Lead Qualification
Now comes the critical part — **scoring your leads**.
1. In the tool bar, click the **Set Score** button.
2. You’ll see that AI has **already assigned scores** to each field.
* Options most valuable to your business are given **higher scores**.
* Less relevant options get lower scores.
Since this is a **lead qualification form**, make sure you **add an Email/Phone Number field** (at the start or end of the form). If AI hasn’t added it, add it manually.
### Step 5: Set Scores for Lead Qualification
Now comes the critical part — **scoring your leads**.
1. In the tool bar, click the **Set Score** button.
2. You’ll see that AI has **already assigned scores** to each field.
* Options most valuable to your business are given **higher scores**.
* Less relevant options get lower scores.
Since this is a **lead qualification form**, make sure you **add an Email/Phone Number field** (at the start or end of the form). If AI hasn’t added it, add it manually.

 ### Step 6: Preview & Publish
1. Click **Preview Mode** to see how your audience will experience the form.
2. Make any last-minute adjustments if needed.
3. Once everything looks good, click **Publish**.
Your AI-powered **Lead Qualification Form** is now live and ready to share with your audience!
## How to Use Lead Scores
Once you start collecting responses:
1. Go to the **Results tab** > **Responses**.
2. Scroll to the last column — **Lead Score**.
3. Here, you’ll see the AI-assigned score for each respondent.
* **High scores = Priority leads**
* **Medium scores = Good leads**
* **Low scores = Poor leads**
### Step 6: Preview & Publish
1. Click **Preview Mode** to see how your audience will experience the form.
2. Make any last-minute adjustments if needed.
3. Once everything looks good, click **Publish**.
Your AI-powered **Lead Qualification Form** is now live and ready to share with your audience!
## How to Use Lead Scores
Once you start collecting responses:
1. Go to the **Results tab** > **Responses**.
2. Scroll to the last column — **Lead Score**.
3. Here, you’ll see the AI-assigned score for each respondent.
* **High scores = Priority leads**
* **Medium scores = Good leads**
* **Low scores = Poor leads**
 You can **download the responses** and share them with your **Sales or Marketing team**. This ensures they focus first on **priority leads**, improving conversion and saving valuable time.
## Final Thoughts
With **Leads Intelligence Mode in CaptureIQ**, you don’t just capture leads — you capture **qualified leads**. The AI does the heavy lifting by:
* Understanding your business
* Creating optimized questions
* Assigning scores automatically
All you need to do is **review, publish, and start closing deals faster**.
You can **download the responses** and share them with your **Sales or Marketing team**. This ensures they focus first on **priority leads**, improving conversion and saving valuable time.
## Final Thoughts
With **Leads Intelligence Mode in CaptureIQ**, you don’t just capture leads — you capture **qualified leads**. The AI does the heavy lifting by:
* Understanding your business
* Creating optimized questions
* Assigning scores automatically
All you need to do is **review, publish, and start closing deals faster**.