> ## Documentation Index
> Fetch the complete documentation index at: https://help.captureiq.ai/llms.txt
> Use this file to discover all available pages before exploring further.
# Publish your CaptureIQ form
Publishing your form is the final step before you start collecting responses. Here’s how you can do it:
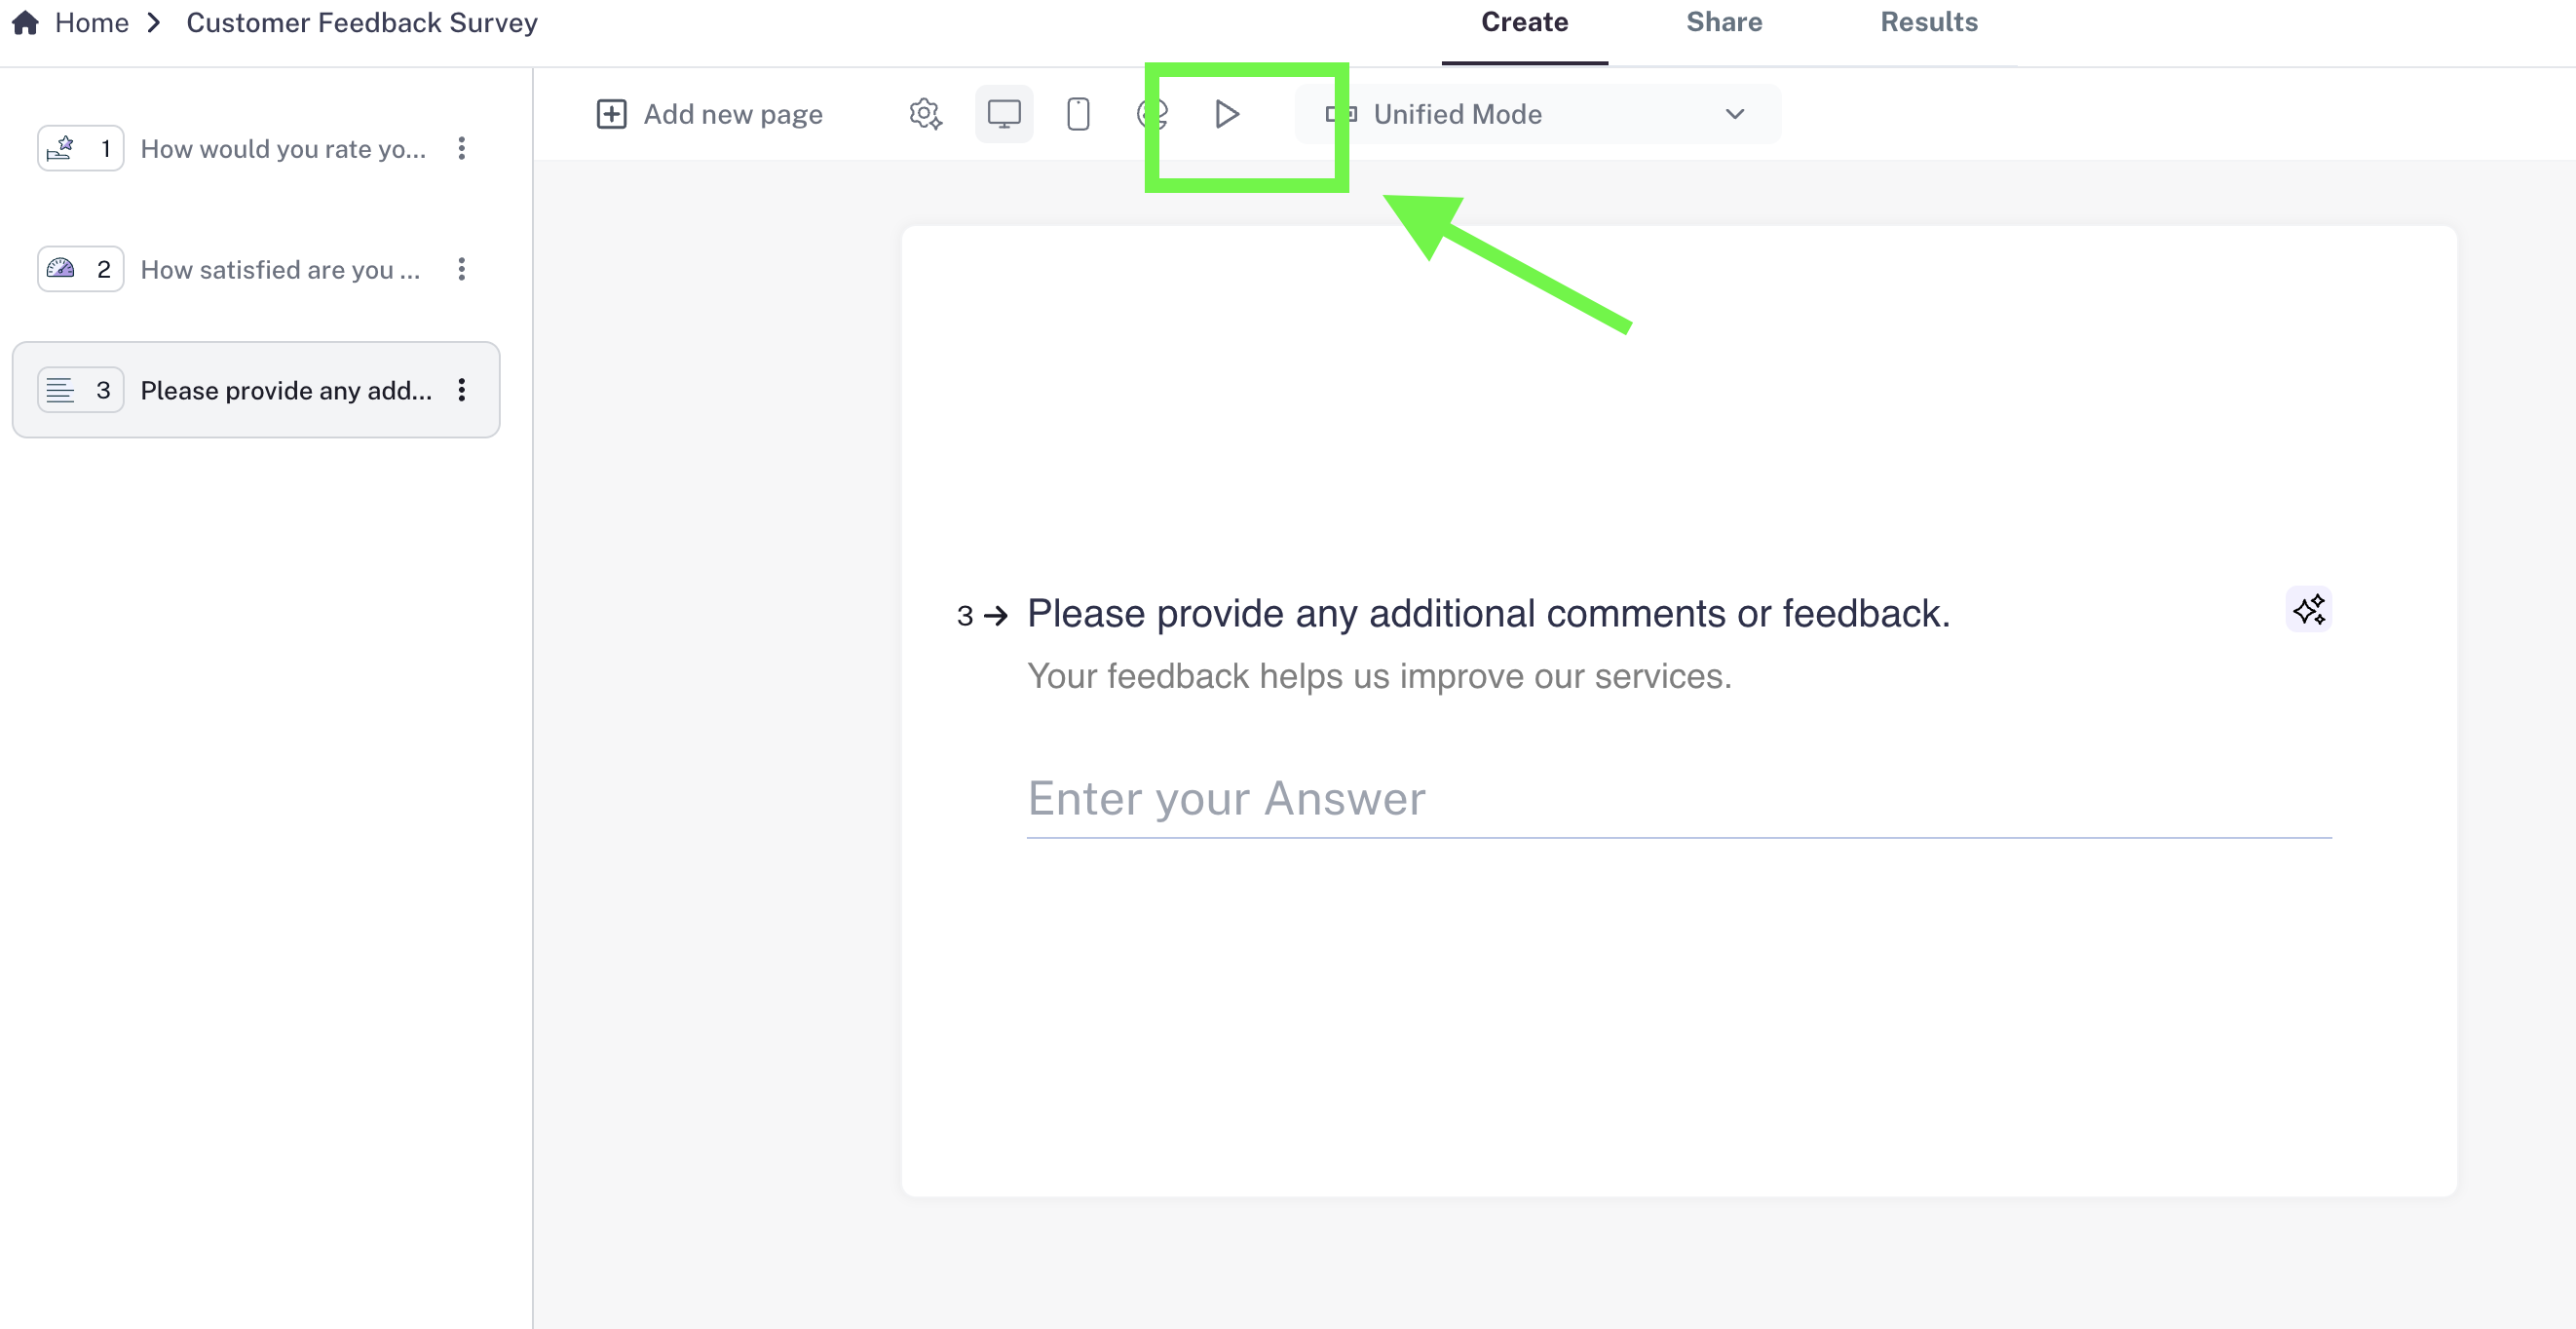
### Step 1: Preview Your Form
* Open the preview to see exactly how your form looks.
* Check both **desktop view** and **mobile view** to make sure everything works smoothly for your audience.
 ### Step 2: Optimize Your Questions
* Next to each question, you’ll see the **AI Text Optimizer**.
* Use it to fine-tune your questions so they’re clear, engaging, and more likely to get responses.
### Step 3: Set Your Ending Page (Optional)
* Add a custom **Ending Page** (thank-you screen) that appears after submission.
* You can thank users, share next steps, or include a link.
### Step 4: Publish Your Form
* Once everything looks good, click the **Publish** button in the top-right corner.
* Your form is now live and ready to collect responses 🎉
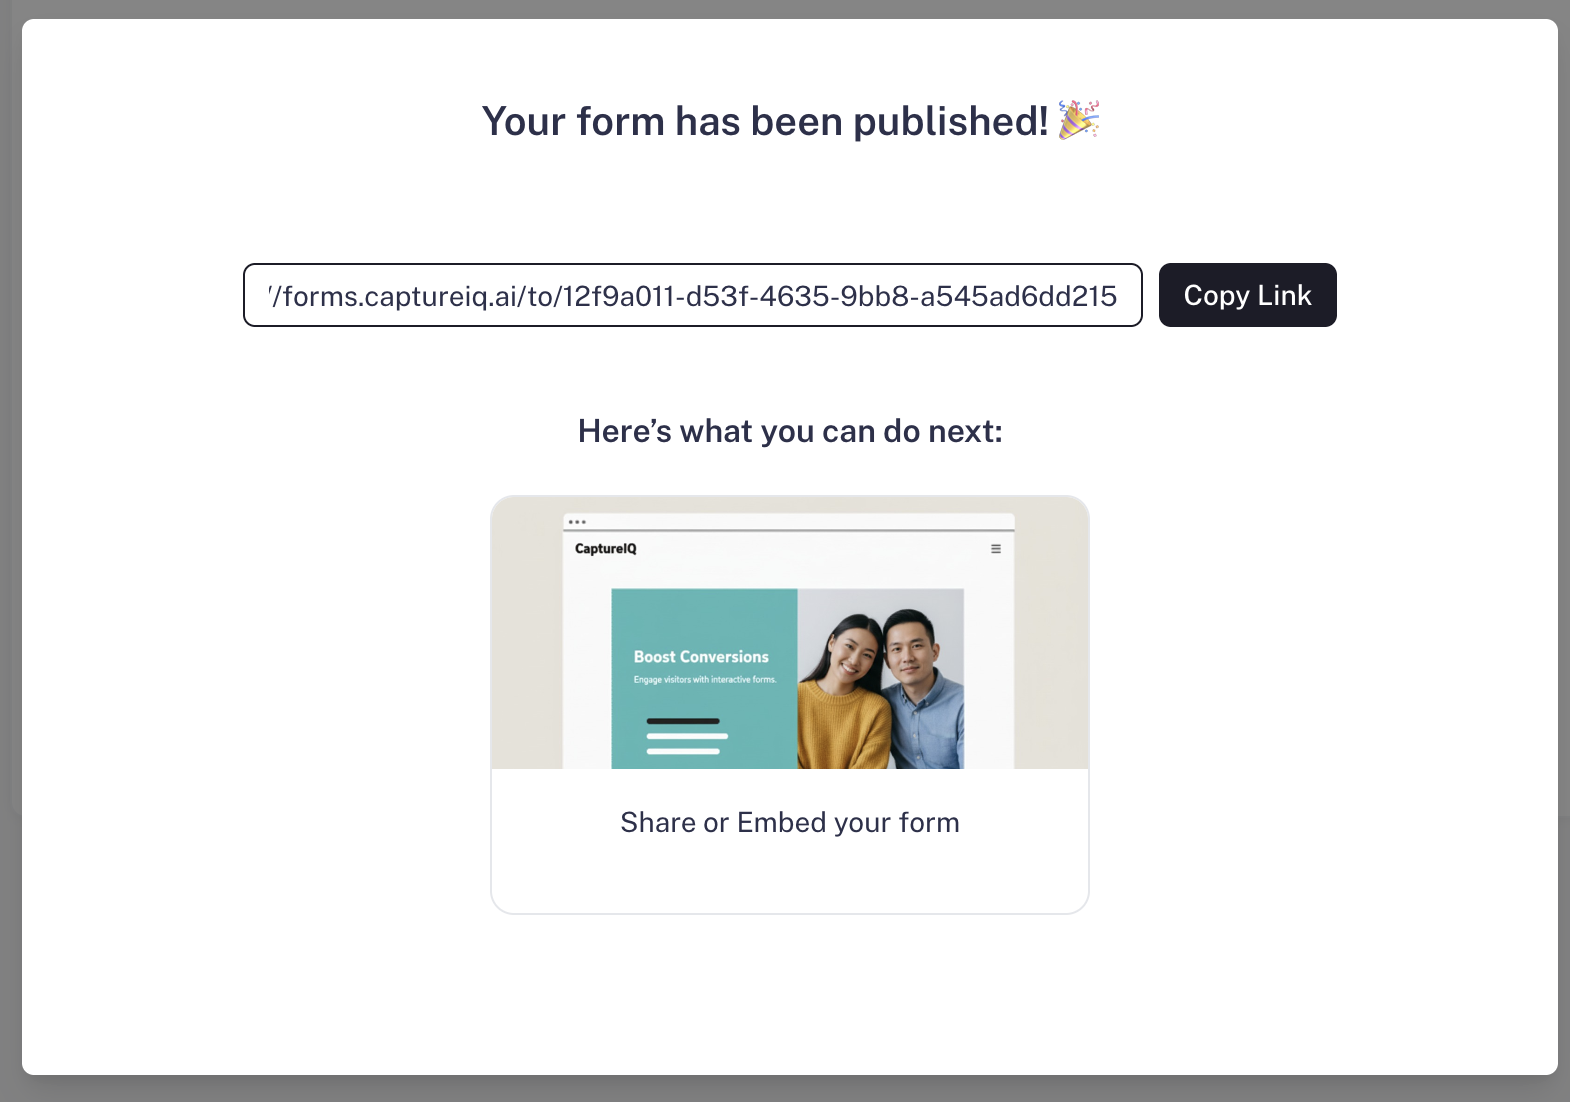
### Step 5: Share Your Form
* After publishing, you’ll see the **form URL** in the publish window.
* Copy the link and share it anywhere — email, social media.
### Step 2: Optimize Your Questions
* Next to each question, you’ll see the **AI Text Optimizer**.
* Use it to fine-tune your questions so they’re clear, engaging, and more likely to get responses.
### Step 3: Set Your Ending Page (Optional)
* Add a custom **Ending Page** (thank-you screen) that appears after submission.
* You can thank users, share next steps, or include a link.
### Step 4: Publish Your Form
* Once everything looks good, click the **Publish** button in the top-right corner.
* Your form is now live and ready to collect responses 🎉
### Step 5: Share Your Form
* After publishing, you’ll see the **form URL** in the publish window.
* Copy the link and share it anywhere — email, social media.