At CaptureIQ, we’re committed to making form building and response management not only powerful, but also organized. With our Workspaces feature, you can structure projects, manage clients, and keep everything neatly separated within one dashboard.
Here’s everything you need to know about Workspaces in CaptureIQ:
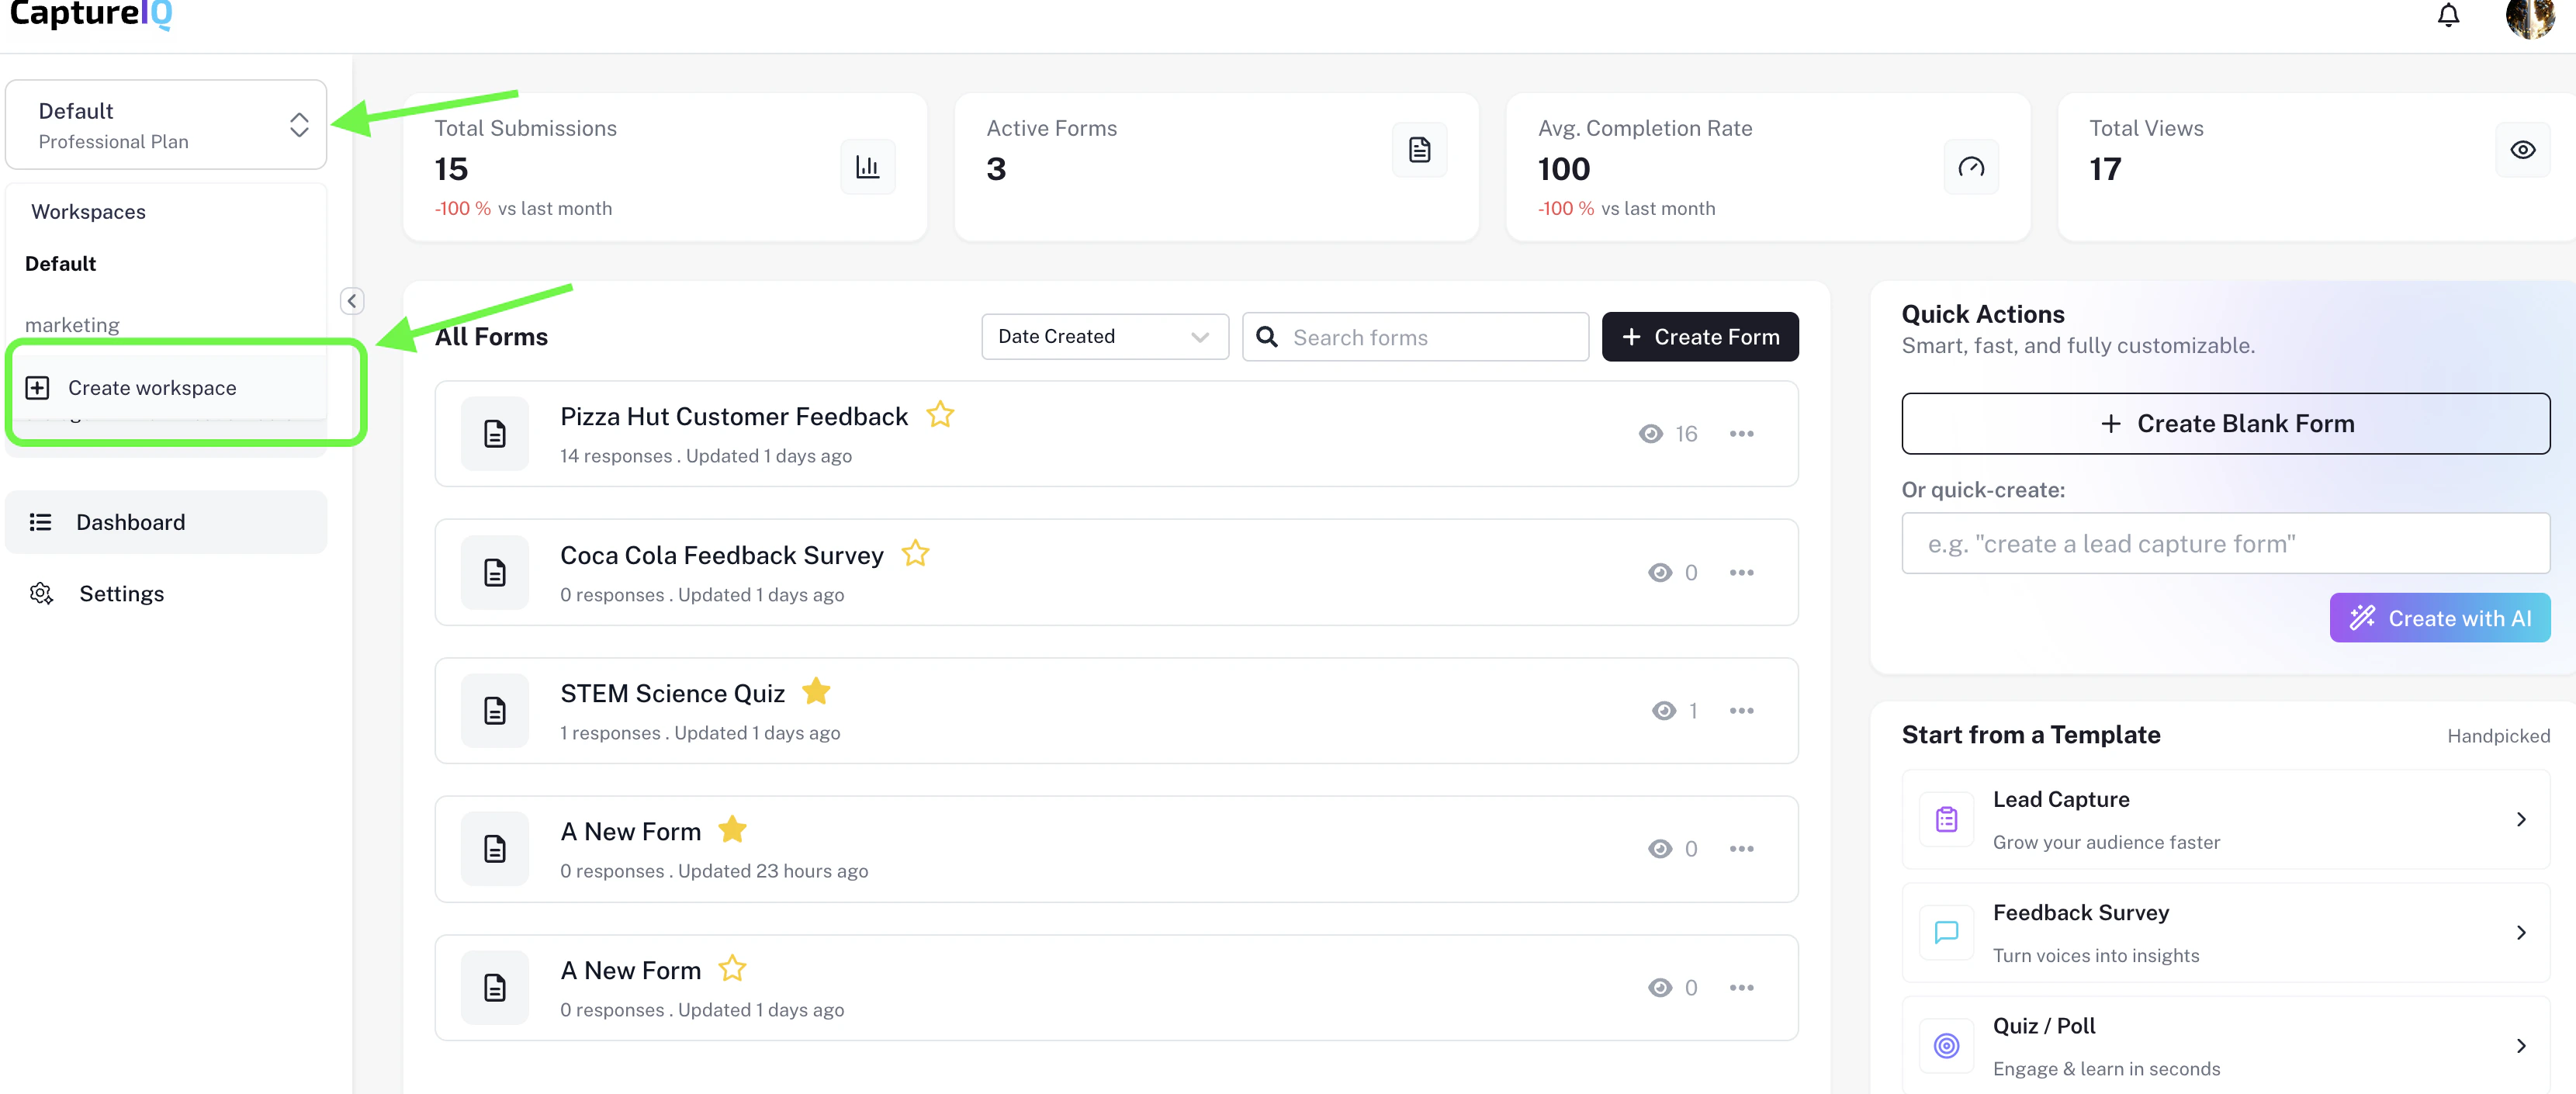
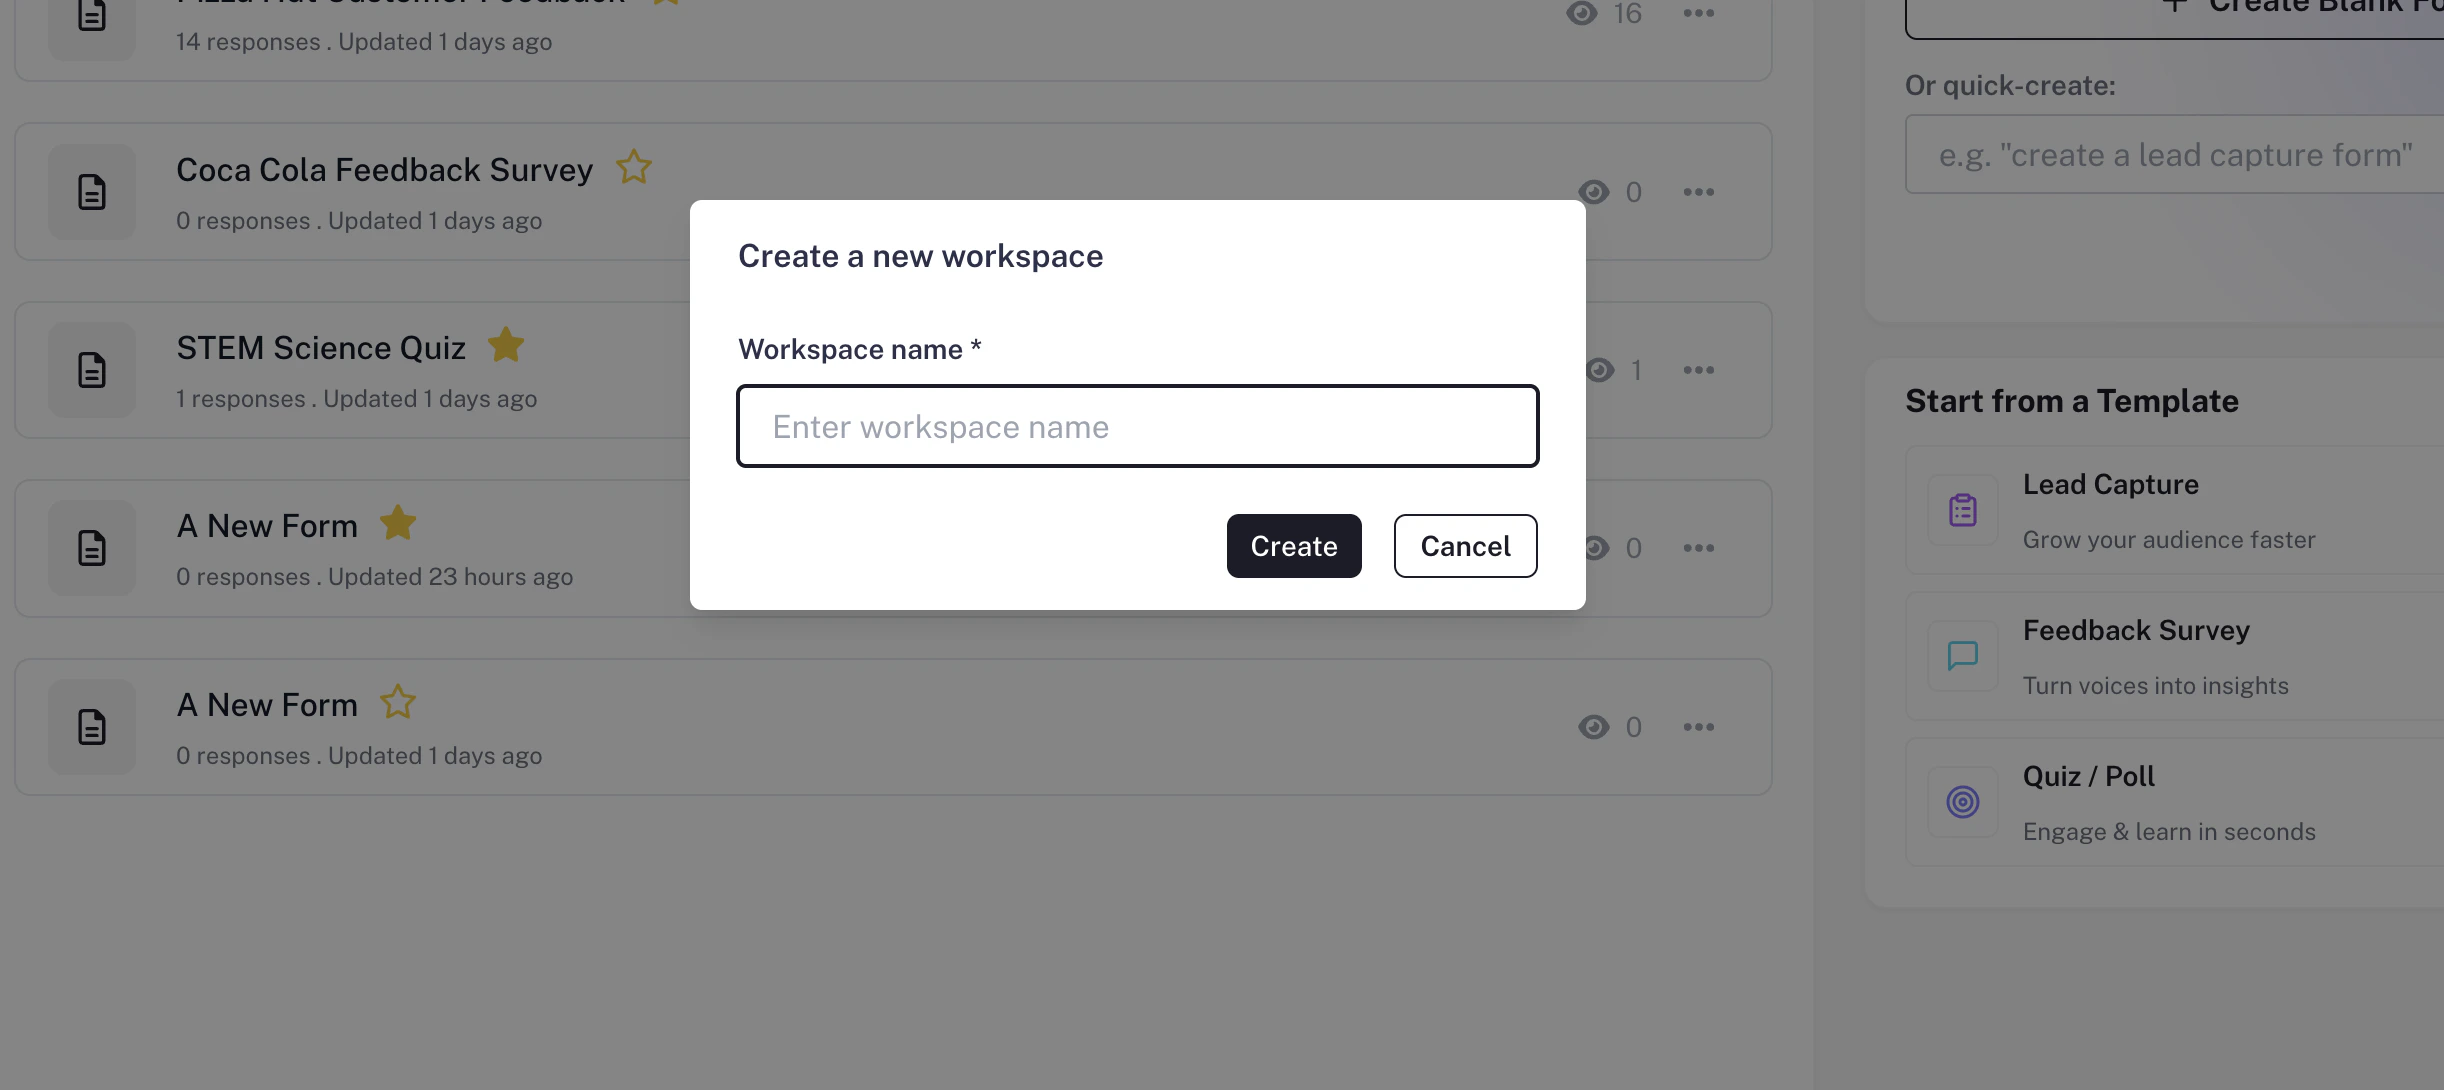
1. Creating a New Workspace
To create a new workspace:
- Head to the top-left corner of your dashboard.
- Click on the current workspace name.
- Select “Create Workspace.”
You can create multiple workspaces to separate personal projects, client forms, or team-based initiatives.
Note: Workspace creation limits depend on your subscription plan.
2. Switching Between Workspaces
Managing multiple workspaces is simple:
- Click the workspace dropdown in the top-left.
- Select the workspace you want to view.
All forms, responses, and analytics are organized under each workspace, making it easy to keep projects separate.
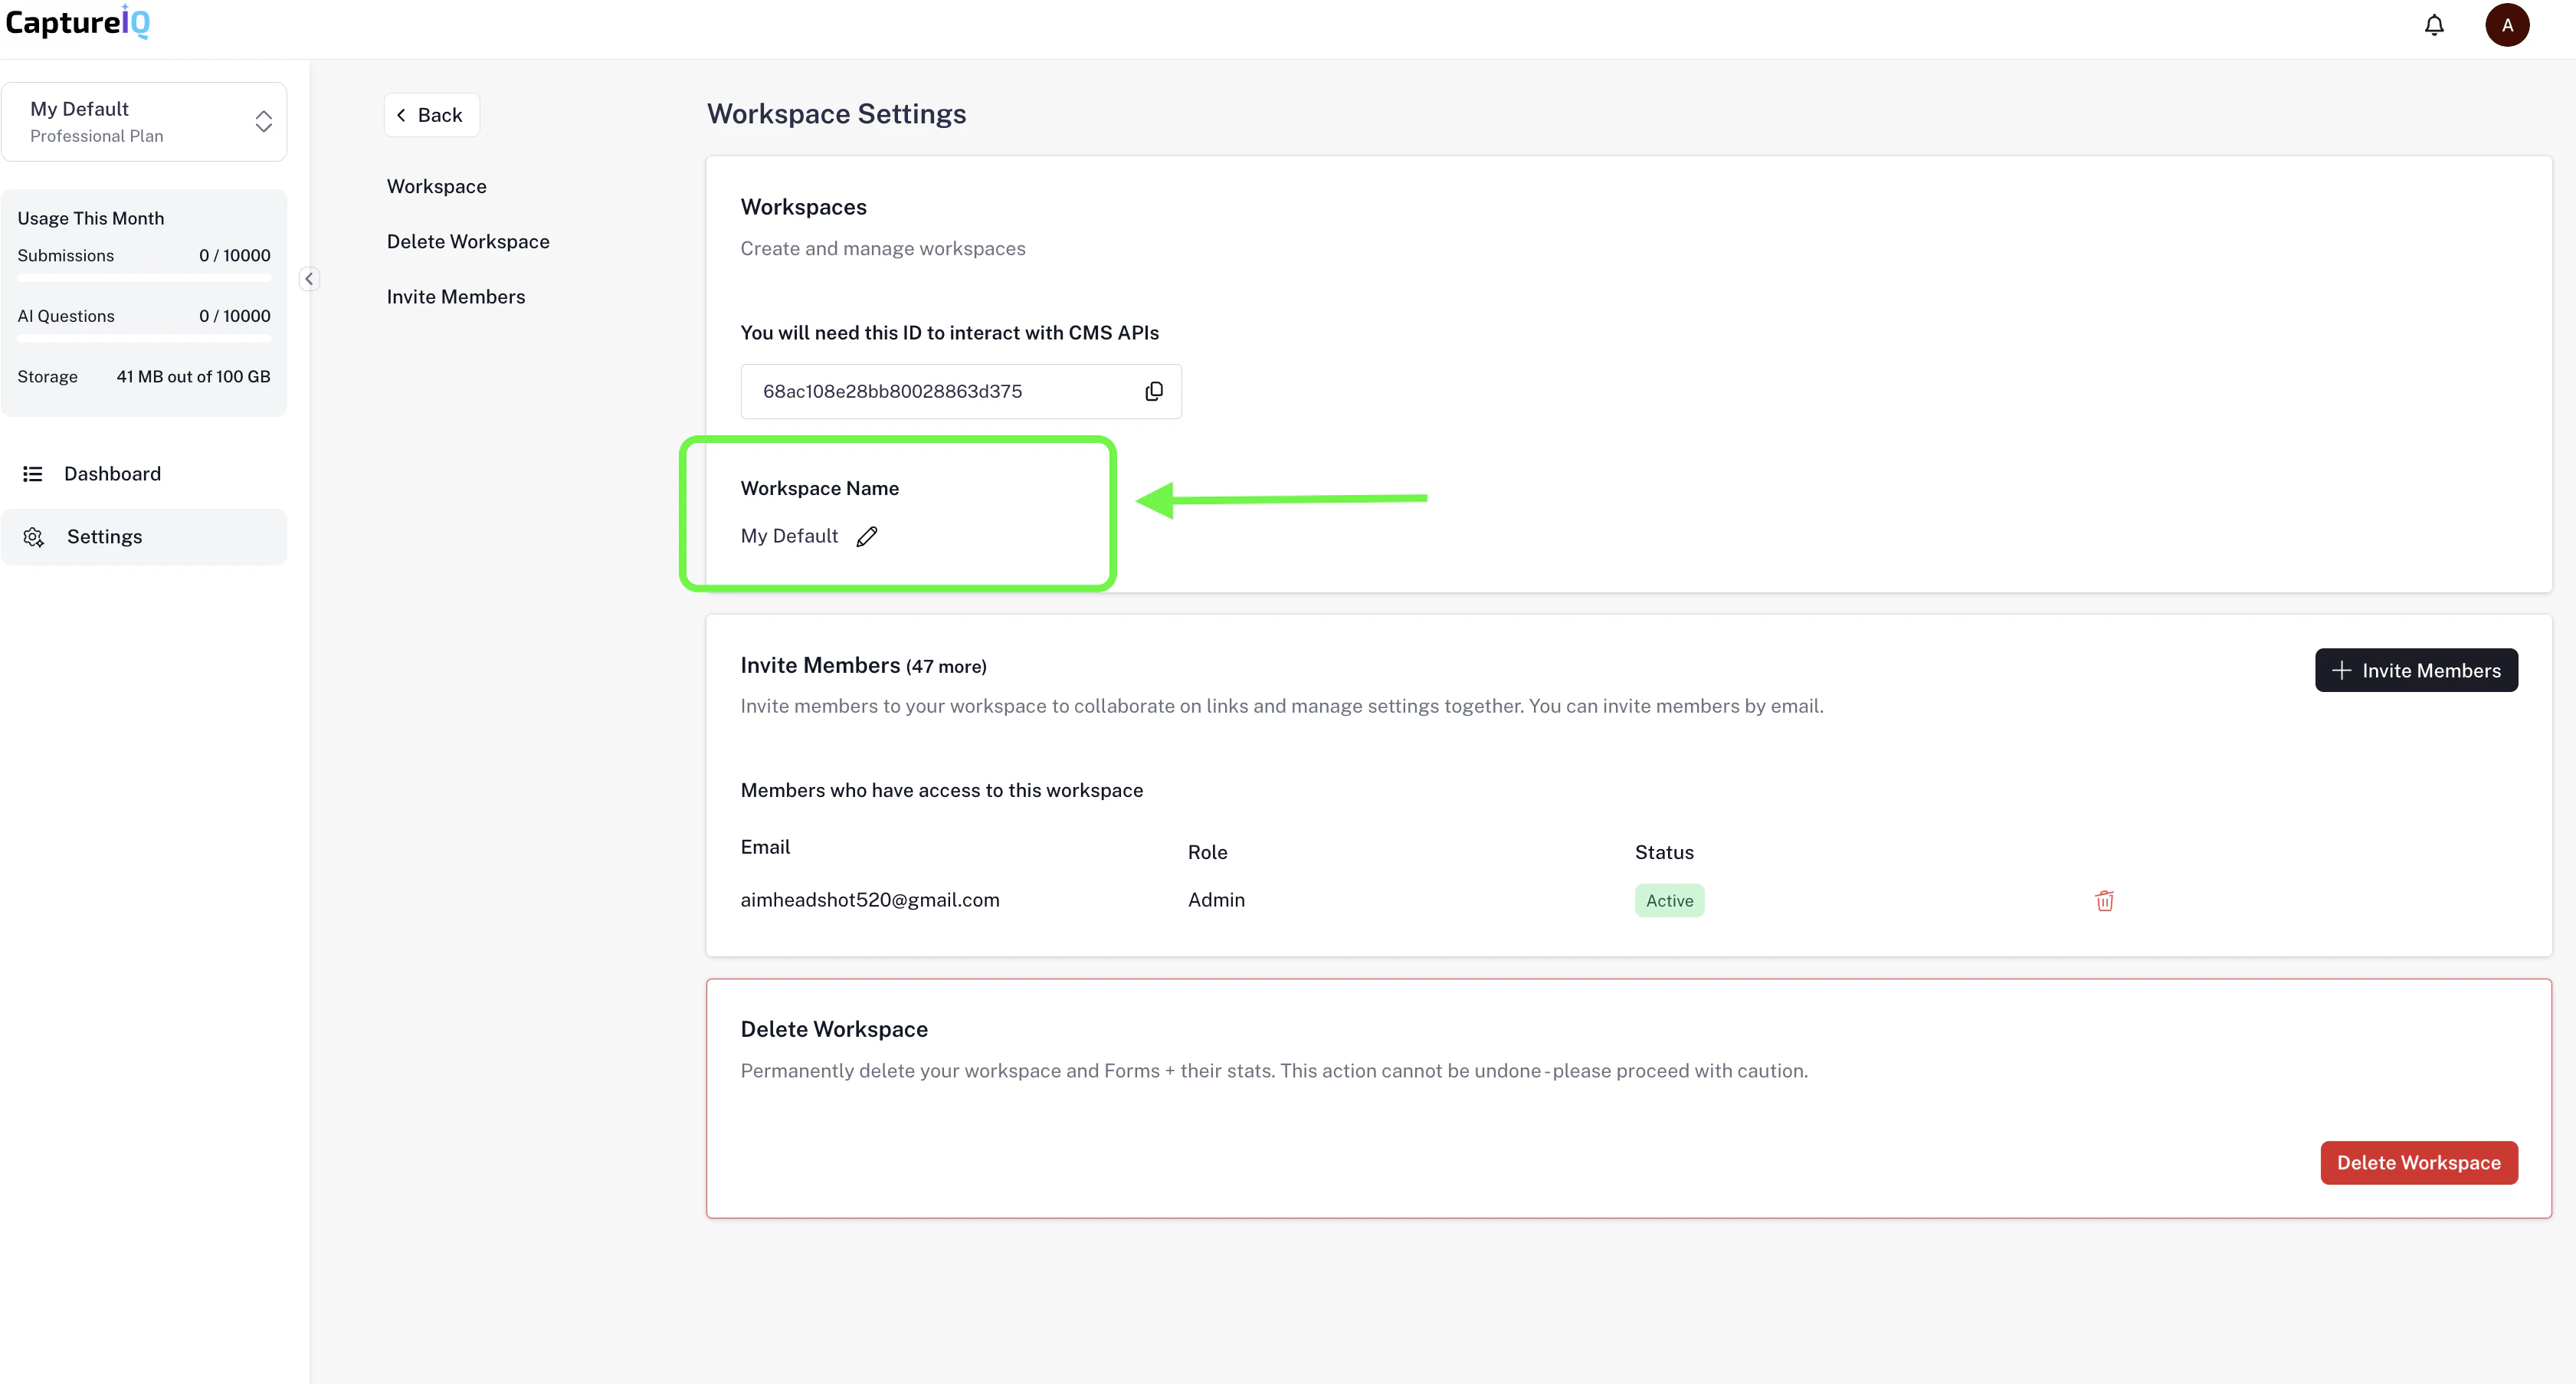
3. Renaming a Workspace
To rename an existing workspace:
- Go to Settings > Workspace.
- At the top, you’ll see the workspace name field.
- Update the name and it will automatically reflect across your dashboard.
4. Shared Workspace Indicator
Shared workspaces are marked with a shared icon next to their name in the dropdown list. This helps you quickly identify whether a workspace is personal or collaborative.
5. Workspaces by Plan
| Features | Free | Essential | Growth | Professional |
|---|
| Workspaces | 1 | 5 | 15 | 50 |
Final Thoughts
Workspaces in CaptureIQ turn form creation into a well-structured experience. Whether you’re running internal projects, managing multiple clients, or working with different teams, Workspaces help you stay organized and efficient.
Try creating your first workspace today to experience the difference.